How to Repair Lifting or Bubbled Veneer on Old Furniture
Fix lifting corners and blisters in old veneer with careful cleaning, glue and clamping, and learn when veneer damage needs a restorer.
Clean beneath the lifted area gently, apply a thin layer of suitable glue (traditionally hide glue), press the veneer flat under a weighted, padded board with baking or wax paper in between, and leave it to cure. Treat bubbles by slitting along the grain and injecting glue. For missing pieces, large areas or valuable furniture, consult a restorer.
Veneer lifts when glue ages, humidity changes or knocks loosen an edge. A raised corner snags clothing and can break off if left, so it is worth dealing with promptly.
Small repairs are within reach of a patient amateur, but the work must be done carefully because veneer is thin and brittle.
Diagnose the damage
Press gently around the problem area. A loose corner, a long lifting edge, a blister (bubble) in the middle and a crack that has opened up are different problems with different solutions. Tapping lightly can help; a hollow sound suggests the veneer has detached from the base.
Look for the cause. Moisture, heat from a nearby radiator or a failed old repair may mean the problem will return unless the conditions change.
Take photographs before you start, and measure how far the lifting extends. A small area near an edge is a sensible amateur repair. A large area of lifting veneer on a flat top, or lifting that continues to spread, suggests a deeper problem with the base or the glue that deserves expert attention.
Gather your materials
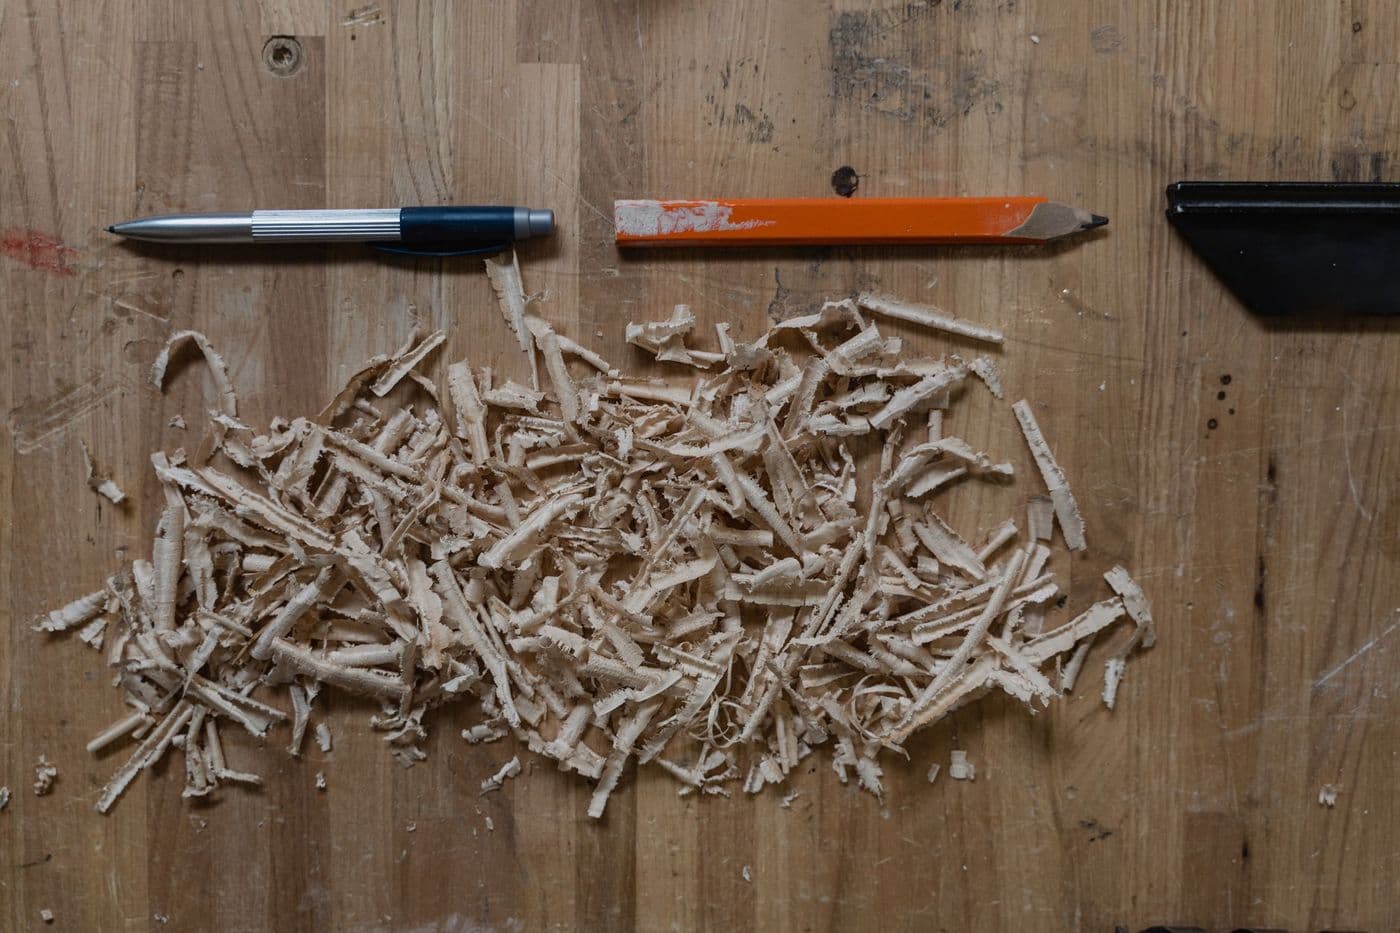
You will need a few simple items before you begin.
- Hide glue or a suitable veneer glue.
- A thin spatula, palette knife or old credit card.
- Wax paper or baking paper to prevent sticking.
- A flat, padded board and weights or clamps.
- A damp cloth and a small brush.
Repairing a lifted edge or corner
Slide a thin, flexible blade carefully under the loose veneer to lift it just enough to access the gap. Remove loose dust and old glue with a soft brush, and avoid bending the veneer more than necessary since it can snap.
Apply a thin layer of glue to the underside of the veneer and the base using a thin spatula, then press the veneer flat. Wipe off any squeeze-out immediately.
Clamping and curing
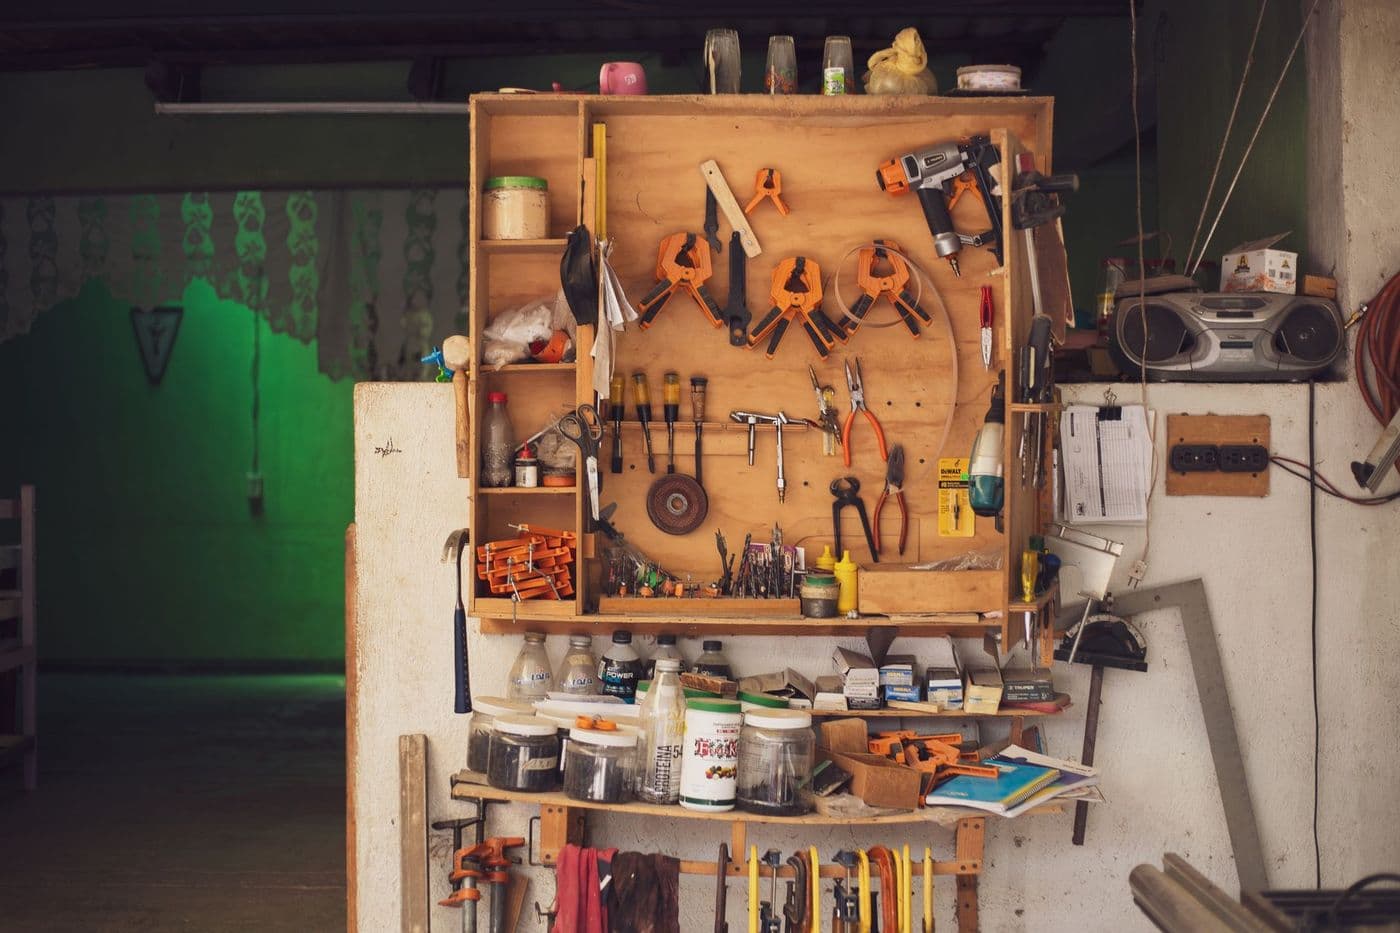
Place wax paper over the repair so the glue does not stick to your board, then add a smooth padded board and a heavy weight or clamp. Spread the pressure evenly across the area to prevent distortion.
Leave the repair for the time the glue manufacturer recommends, often overnight. Do not rush by adding heat, which can scorch the surface or soften the finish.
Treating a bubble
With a very sharp blade, make a small cut along the grain of the veneer across the centre of the blister so the cut hides in the pattern. Work glue into the opening using a thin spatula or syringe, then press the bubble flat and clamp as above.
Cutting across the grain makes a visible line, so always follow the direction of the grain. If the bubble is large or the veneer is brittle, a restorer can handle it with moisture and gentle heat.
Missing pieces and cracks
If veneer has broken off, keep every fragment, even tiny ones. They can often be refitted like a jigsaw. Missing sections require matching veneer, which a restorer can source and cut to shape.
Old veneers vary in thickness and colour, and matching stain and finish is a skilled job. Fill gaps only with appropriate fillers and avoid using general-purpose wood filler that cannot be removed.
When veneer is missing, resist the temptation to fill the gap with coloured wax or filler and leave it. An honest, stable repair that can be improved later is better than a hard fill that locks in a poor colour match. A restorer can make a patch from matching veneer and blend it in so it is barely visible.
Preparing the surface and testing first
Before applying any glue, practise on scrap veneer or in a hidden spot to get a feel for how much glue and pressure you need. Too much glue squeezes out and stains the finish, while too little leaves the veneer loose.
Veneer is also directional: it moves slightly with changes in humidity. Make the repair when the room is at moderate humidity, not in the middle of a very dry heating season or after a damp spell, so the veneer settles in a neutral state.
Know your limits
Valuable or complex pieces, such as marquetry, parquetry or burr veneers, are best left to professionals. A badly handled repair is more expensive to undo than the original damage.
Preventing further damage is easier: keep furniture away from heat and damp and avoid placing hot or wet items on the surface.
Tip: Never use superglue on veneer. It is brittle, irreversible and can stain the wood.
Frequently asked questions
Can I use an iron to reglue veneer?
Some restorers use gentle heat to reactivate old hide glue, but it can scorch finishes if done carelessly. Test cautiously or ask a professional.
Why does veneer lift?
Common causes include aged glue, changes in humidity, nearby heat, moisture damage and physical knocks.
What if the veneer is cracked as well as lifted?
Glue the loose area first, then deal with the crack. Cracks often need careful filling and finishing, which a restorer can do.
Is veneer repair expensive?
Small repairs are usually modest, but prices rise with the complexity and value of the piece. Ask for a quote before agreeing work.
Advertisement
General information only. Check product labels and manufacturer instructions before you start.
Keep reading
How to Identify an Old Wood Finish: Shellac, Lacquer, Varnish or Wax
Use simple spot tests to work out whether an old furniture finish is shellac, lacquer, varnish or wax, so you can clean and repair it the right way.

How to Store Antique Furniture Safely: Wrapping, Space and Conditions
Store antique furniture without damage: choose a dry, stable space, wrap with breathable materials, keep it off the floor and check on it regularly.
How to Fix Loose Chair Joints with Hide Glue
Repair a wobbly antique chair the traditional way: diagnose the loose joint, clean out old glue, use reversible hide glue and clamp it correctly.