How to Fix Loose Chair Joints with Hide Glue
Repair a wobbly antique chair the traditional way: diagnose the loose joint, clean out old glue, use reversible hide glue and clamp it correctly.
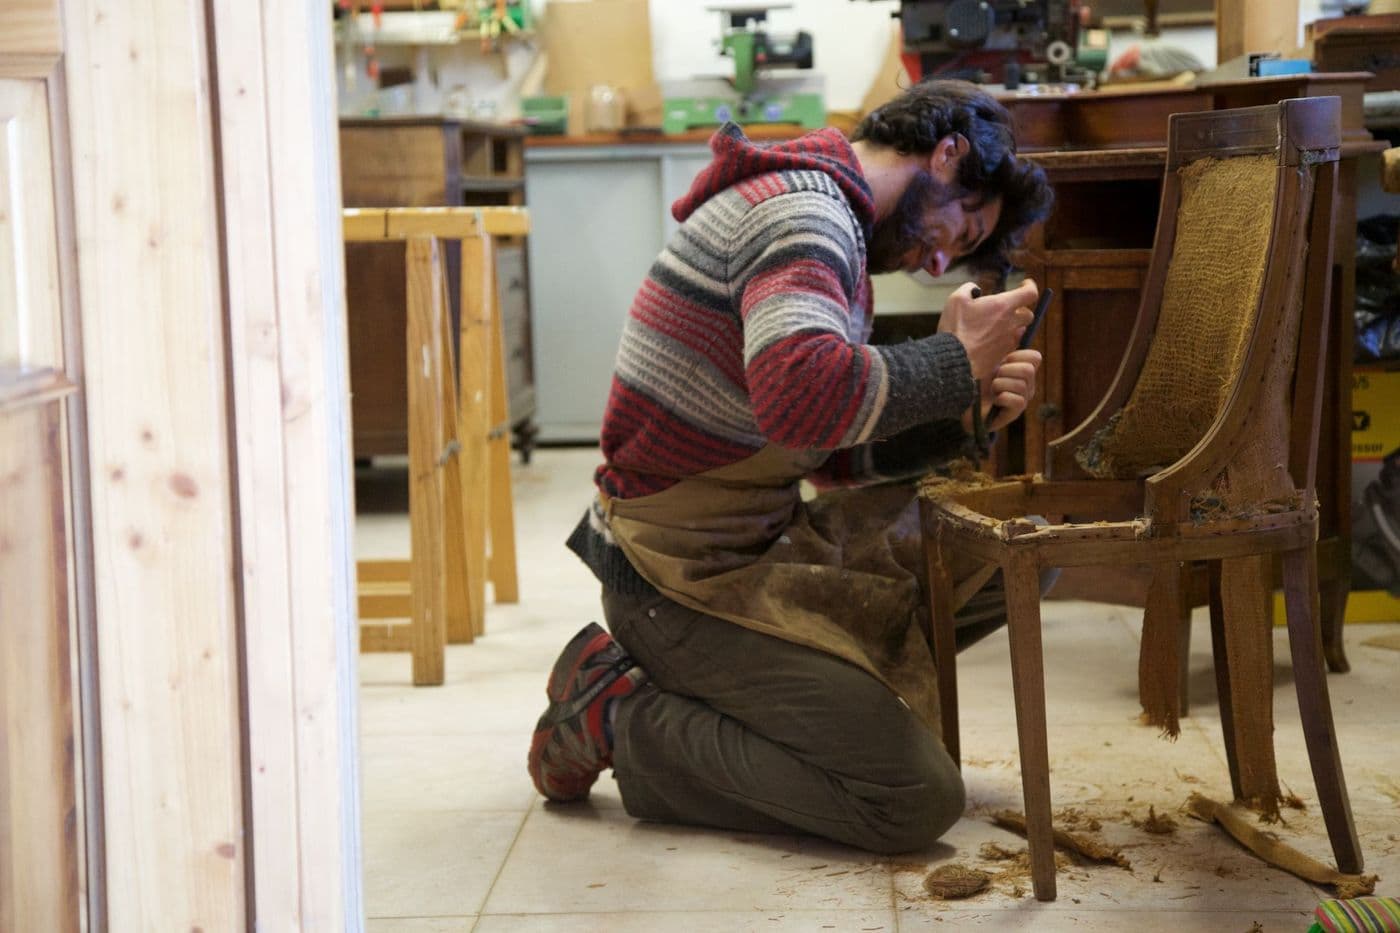
Identify which joint is loose, carefully separate it, remove old glue and dirt, test-fit the parts, then reglue with hide glue and clamp until set. Hide glue is traditional, strong and reversible with heat and moisture, which is why conservators favour it for antiques. Never fill a loose joint with nails, screws or fast-setting glue.
Antique chairs take a lot of stress, and after decades of use the old glue in their joints eventually fails. A chair that wobbles is not necessarily damaged beyond repair; it often just needs its joints reglued properly.
Repairing a chair with traditional methods keeps it in the spirit of the original, and it is usually a manageable job for a patient beginner. Very valuable or badly broken chairs are best left to a restorer.
Find which joint has failed
Sit on the chair, or push and pull gently at the seat, back and legs while watching for movement. Look for small gaps, pale lines of old glue and white powdery residue around the joints. A joint that moves slightly is usually the one to repair.
Often several joints are loose. Fixing one while leaving the others weak can put extra stress on the repaired joint, so check the whole frame before you start.
Why hide glue?
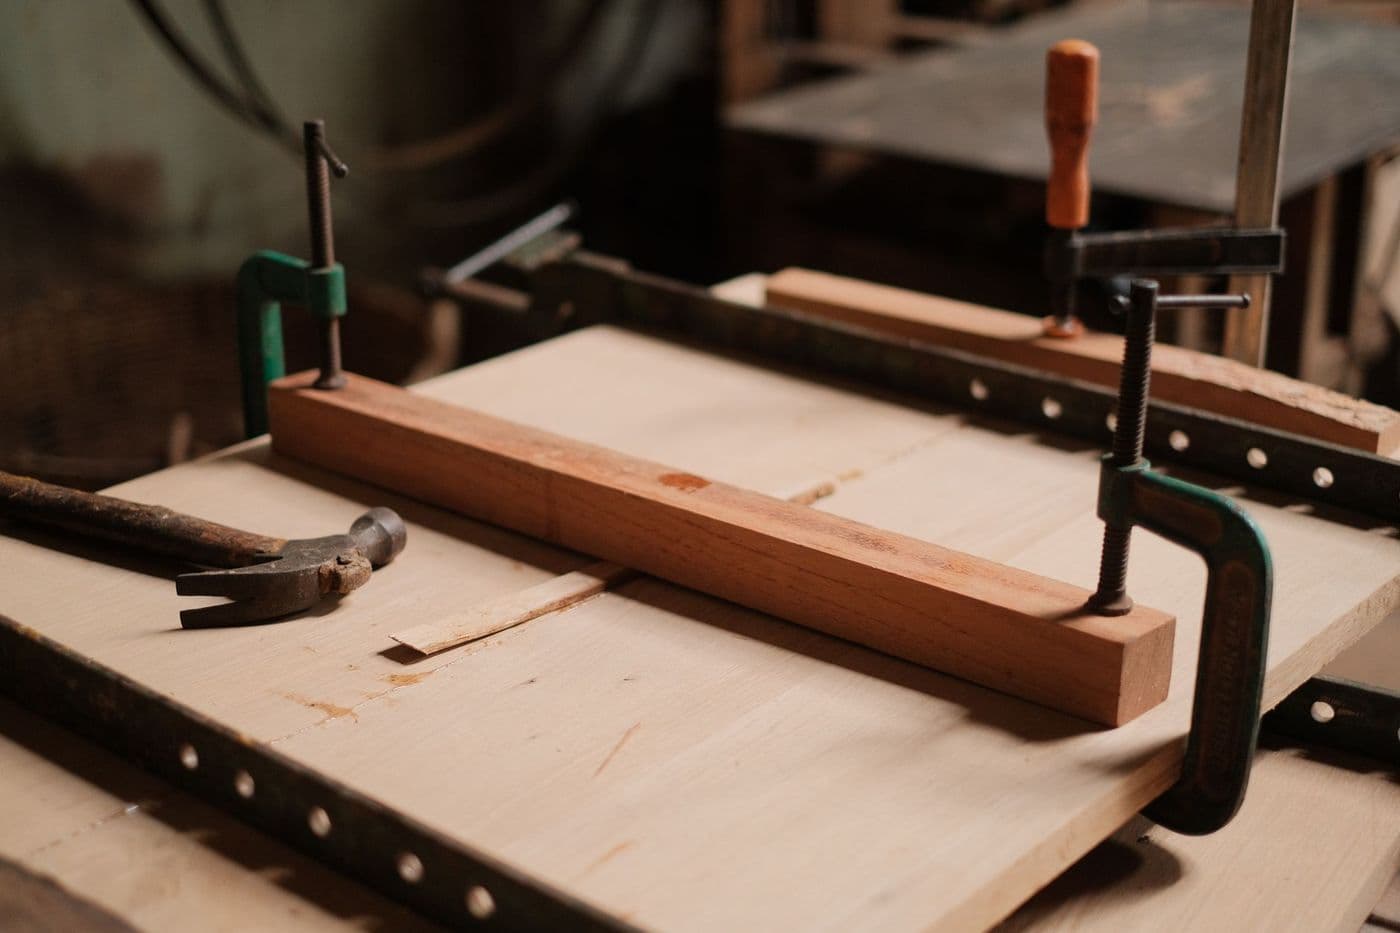
Hide glue is made from animal collagen. It has been used in furniture making for centuries, and it bonds wood very well. Crucially, it can be softened with heat and moisture, so future repairs are possible and original joints can be taken apart without damage.
Modern PVA 'white' glue and epoxy are harder to reverse and can leave residue that prevents later repairs from bonding. Ready-to-use liquid hide glue is available in bottles and is much simpler than hot glue pots for occasional jobs.
Take the joint apart
If the joint is already loose, you can usually twist and pull it apart by hand. Support the frame and avoid levering against delicate parts. If the parts resist, stop; do not force them or you risk breaking a rail or leg.
Photograph the chair before disassembly and label each part, so you can reassemble the frame in the correct order.
Clean and test-fit
Scrape off old glue from the tenon and mortise with a small chisel or scraper, and clean them gently with a damp cloth. Old hide glue softens with a little warm water. Leave the surface slightly rough so the new glue can grip.
Dry-fit the joint without glue to check it closes fully, and practise the clamping arrangement. If the tenon is now too loose, shim it with a thin sliver of matching wood rather than packing it with filler.
Reglue and clamp
Follow the glue manufacturer's instructions, and have clamps ready before you start. Apply a thin even coat inside the mortise and on the tenon, assemble the joint, check the chair is square and clamp firmly but not excessively. Wipe away squeezed-out glue with a damp cloth.
- Work in a warm room, since hide glue sets by cooling.
- Use cauls or padding to protect the finish from clamp marks.
- Check that the legs sit evenly and that the chair does not twist.
- Leave the glue to cure for the time recommended, commonly overnight.
What not to do
Avoid driving screws or nails through the joint, injecting glue into a joint without cleaning it, and using fast-setting glue. These measures weaken the structure and make future restoration more difficult.
Do not repair chairs with split or rotten rails by gluing alone. If wood is cracked, missing or worm-eaten, a restorer can splice in matching timber.
Dealing with a stubborn old joint
Sometimes old hide glue is still strong in one spot while failing in another, and the joint will not come apart. A little warm water applied with a cotton bud to the glue line can soften the bond over a few minutes. Wait, test the joint gently and repeat if needed rather than forcing it.
Never use a hammer directly on antique wood. If tapping is necessary, use a soft mallet and a block of scrap wood to spread the force. Support the chair so the weight is not carried by the joint you are trying to separate.
When to call a professional
If the chair is valuable, has delicate carving, veneer, inlay or original upholstery, or if it has multiple broken parts, it is worth asking a conservator. A poorly done repair can reduce value significantly.
Tip: Keep any old glue flakes and note which chair they came from. They can help a restorer understand earlier repairs.
Frequently asked questions
Can I use wood glue instead of hide glue?
You can, but modern aliphatic glues are not easily reversible and can complicate later repairs. Hide glue is preferred for antiques.
How long do clamps stay on?
Follow the glue's instructions. Many repairs are left clamped for several hours or overnight, then left unstressed for a day before use.
What if the tenon is too loose after cleaning?
Add a thin matching veneer or wooden shim to the tenon. Avoid filling gaps with glue alone, since it makes a weak joint.
Is it safe to sit on a freshly glued chair?
Wait until the glue has fully cured, usually at least 24 hours, before using the chair.
Advertisement
General information only. Check product labels and manufacturer instructions before you start.
Keep reading
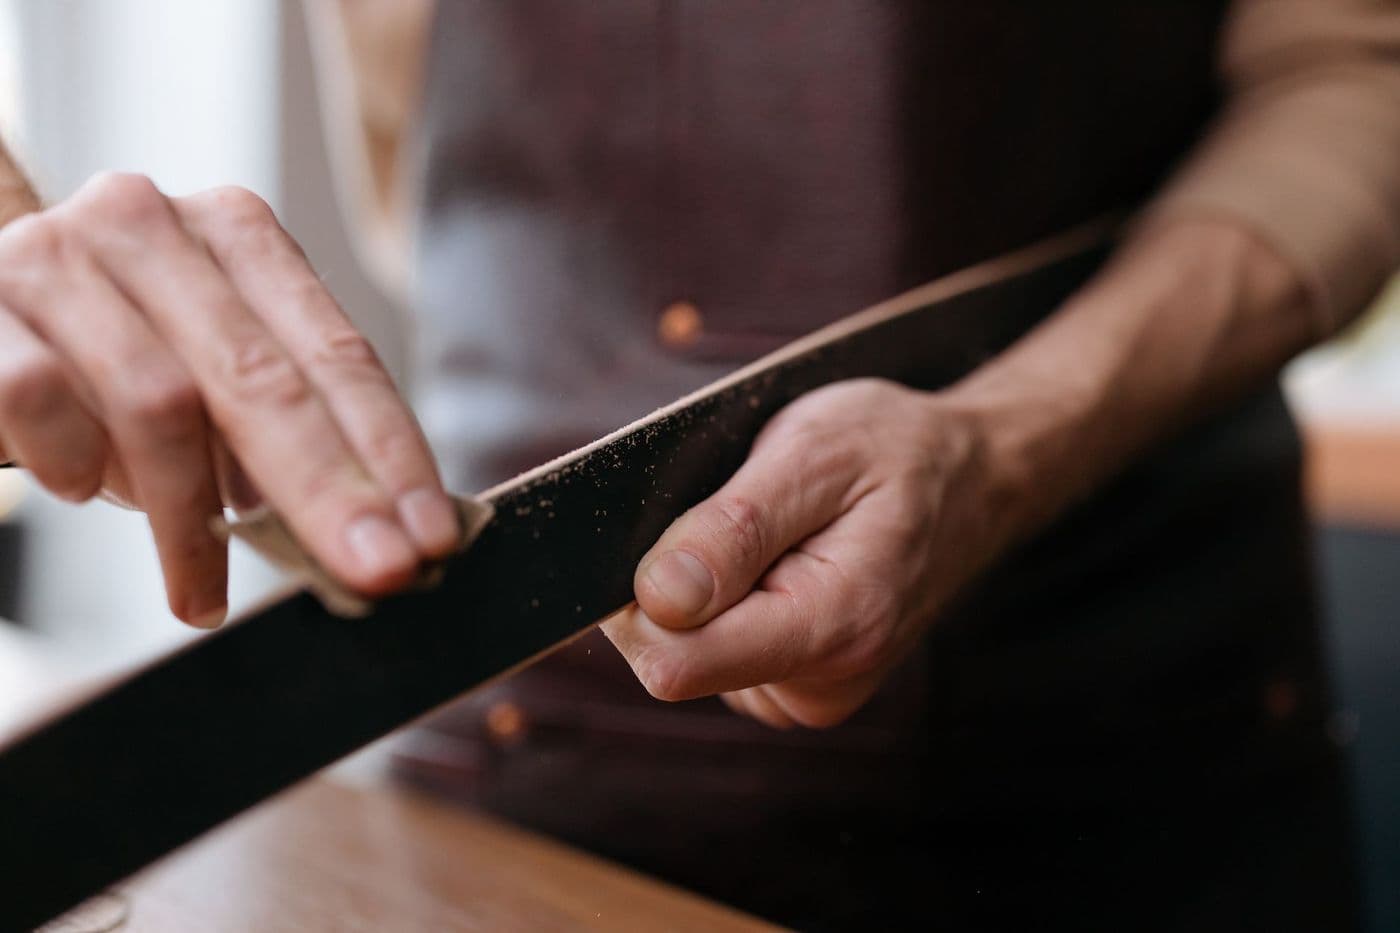
How to Identify an Old Wood Finish: Shellac, Lacquer, Varnish or Wax
Use simple spot tests to work out whether an old furniture finish is shellac, lacquer, varnish or wax, so you can clean and repair it the right way.
How to Store Antique Furniture Safely: Wrapping, Space and Conditions
Store antique furniture without damage: choose a dry, stable space, wrap with breathable materials, keep it off the floor and check on it regularly.
How to Repair Lifting or Bubbled Veneer on Old Furniture
Fix lifting corners and blisters in old veneer with careful cleaning, glue and clamping, and learn when veneer damage needs a restorer.