How to Clean Antique Brass Handles and Hardware Safely
Clean antique brass drawer handles and escutcheons gently: check for lacquer, use mild soap first, protect the wood and know when to leave the patina.
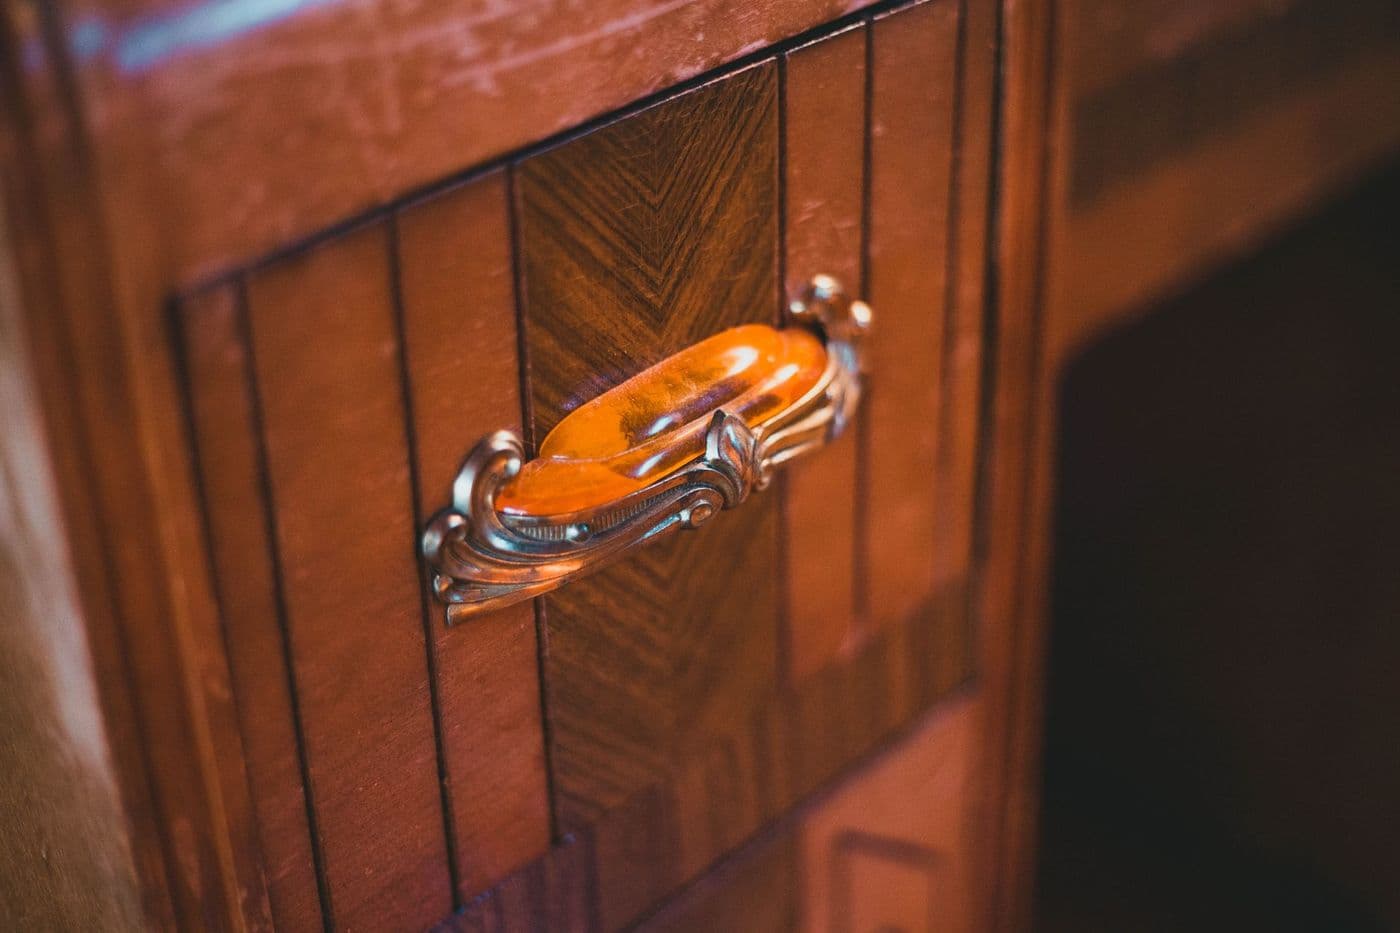
First work out whether the brass is lacquered. If it is, wash with warm soapy water and do not use abrasive polish. If bare, start with mild soap and a soft cloth, then use a gentle brass cleaner or a paste of lemon and baking soda only if needed. Protect the surrounding wood, rinse, dry fully and consider keeping some patina rather than polishing to a mirror shine.
Dull, dark or greenish handles can make an old chest of drawers look neglected. The temptation is to scrub them until they gleam, but brass on antique furniture has often developed a mellow patina that many collectors prefer.
A gentle, step-by-step approach lets you remove dirt and corrosion without wearing away detail or staining the wood behind.
Is it solid brass?
Not every gold-coloured handle is solid brass. Many are brass-plated steel, zinc alloy or cast iron with a thin coating. A magnet is a quick check: a magnet does not stick to solid brass, but it sticks to steel or iron. Plated pieces can wear through if rubbed hard, revealing a different colour underneath.
If the hardware is plated or you are unsure, use the gentlest method only and avoid abrasives.
Check for lacquer
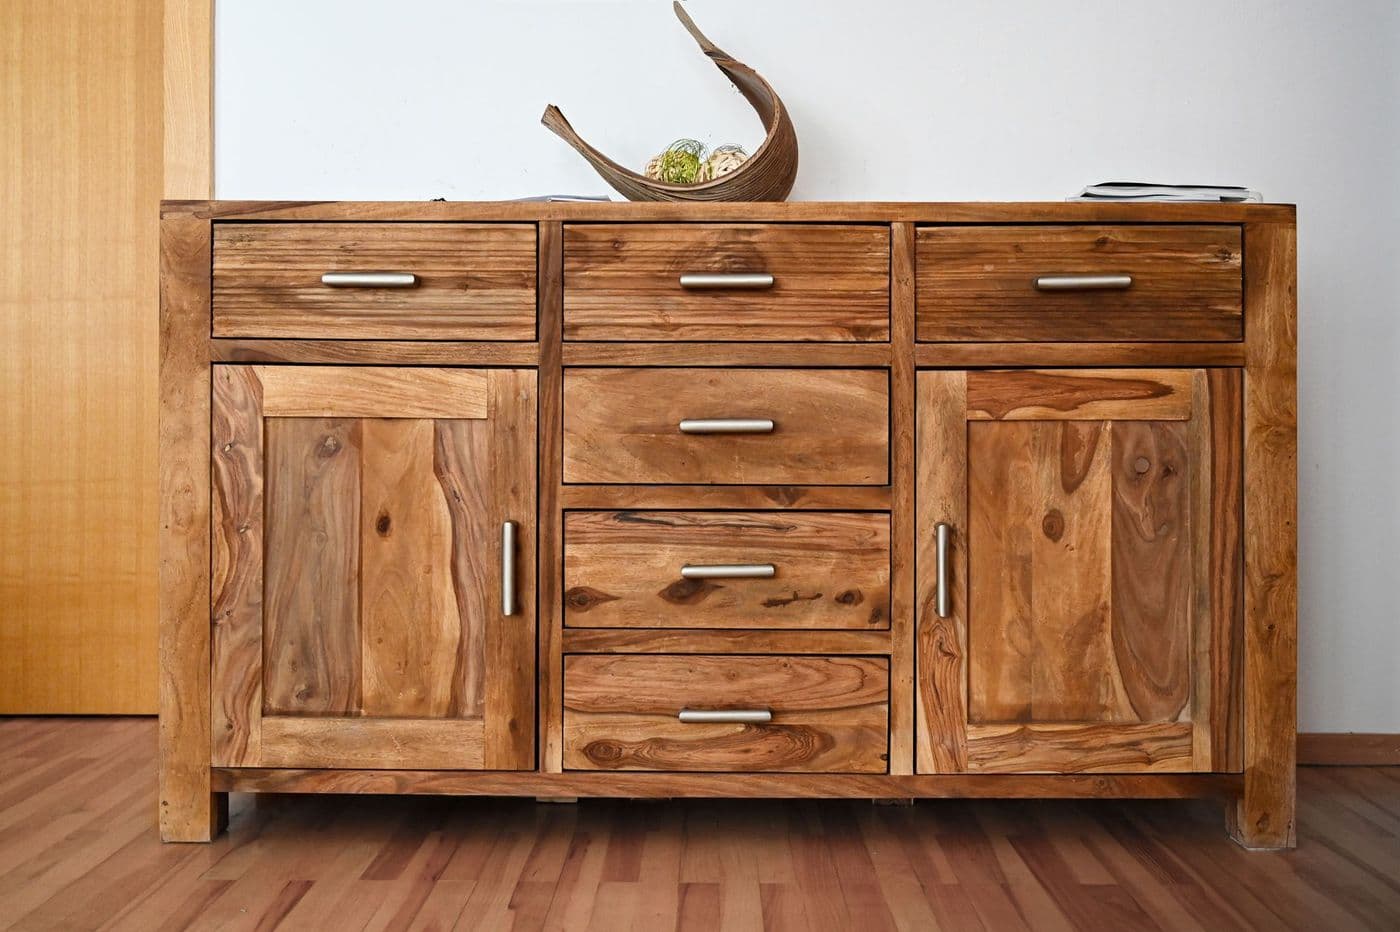
Some brass has a clear lacquer coating from the factory or from later restoration. Lacquered brass tends to look uniformly smooth and shiny, or sometimes patchy and peeling where the coating has failed. Bright polishing compounds will not work properly on lacquer and can leave streaks.
If the lacquer is intact, clean it with warm water and mild washing-up liquid. If it is flaking, a professional can strip and re-lacquer it, or you can leave the unevenness as part of its age.
Remove the hardware carefully if possible
Unscrew handles and backplates when you can, so polish does not touch the wood. Use a screwdriver that fits the slot exactly to avoid damaging the screws, and keep each set of fittings together in a labelled bag or tray so they go back in the same place.
Photograph the piece beforehand. If a fitting will not budge, do not force it. Instead, mask the surrounding wood with painter's tape or cardboard and clean in place.
Step-by-step gentle cleaning
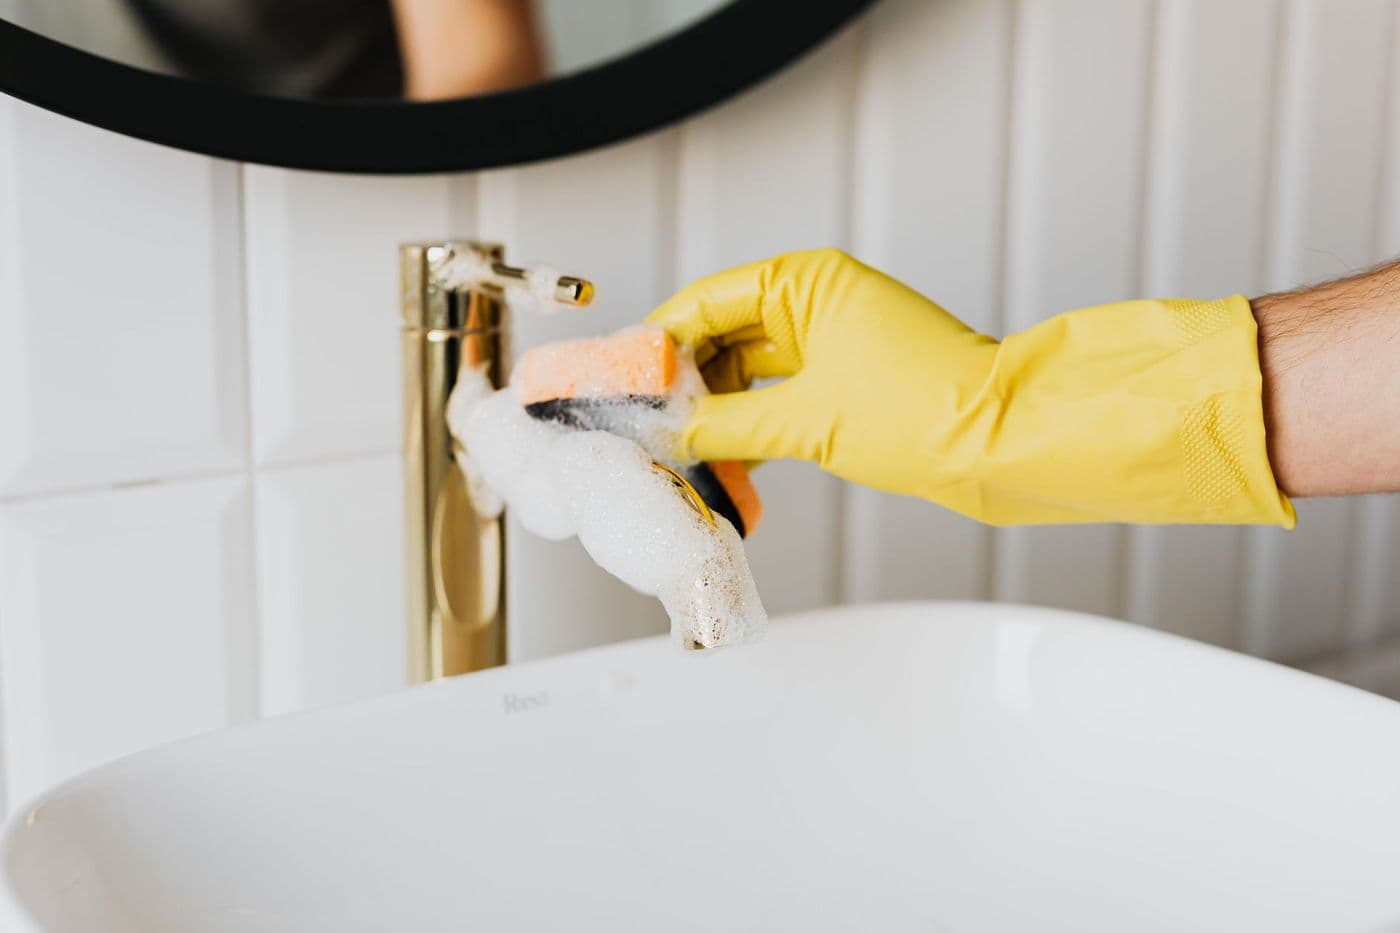
Work from the mildest to the strongest method, stopping as soon as the result is acceptable.
- Wash with warm water and a drop of washing-up liquid, using a soft cloth or old toothbrush for crevices.
- Rinse with clean water and dry thoroughly with a soft towel.
- If tarnish remains, use a purpose-made, non-abrasive brass cleaner following the label.
- For light tarnish on bare brass, a paste of lemon juice and baking soda can be applied briefly, then rinsed off completely.
- Buff dry with a clean soft cloth.
Dealing with green corrosion
Green or blue-green crust (verdigris) is copper corrosion. Soft deposits can be loosened with a toothbrush and warm soapy water. Do not scrape at hard crusts with metal tools, which can scratch the brass.
Brass and corroded metal can also produce irritating or harmful dust and residue, so wear gloves, avoid breathing dust and wash your hands afterwards. If the corrosion is deep or the piece is valuable, consult a conservator.
Protect the wood
Metal polish stains wood, leaving dark halos around handles that are very hard to remove. Always keep cleaner away from the surrounding finish, and wipe up any splash immediately with a damp cloth followed by a dry one.
Once the hardware is dry, check the screw holes and the pale or dark 'ghost' outlines left by older fittings. These marks are part of the piece's story and tell you whether handles have been replaced.
Cleaning keyhole plates and locks
Escutcheons and lock plates need the same restraint as handles, plus a little extra thought. Avoid pouring liquid into a lock, since it can wash out old lubricant and encourage rust inside. Clean the visible brass with a lightly damp cotton bud and dry it straight away.
If a lock sticks, resist spraying general-purpose lubricant into it, which can attract dirt over time. A locksmith or restorer who works on antique locks can service it without harming the mechanism or the original key.
How shiny is too shiny?
Over-polishing removes the soft golden-brown patina that develops naturally and blurs fine engraving or casting detail. Many people prefer to remove only the grime and leave a gently warm tone.
If the handles are original and you are unsure, do a test on one before treating them all, and consider leaving the most delicate or valuable ones to a professional.
Tip: Keep an old toothbrush and cotton buds for detailed cleaning. They reach into engraved patterns without scratching.
Frequently asked questions
Can I use ketchup or vinegar on antique brass?
These acidic home remedies can work on bare brass but are hard to control and may leave marks or dull the finish. Use them cautiously, rinse thoroughly and avoid on lacquered or plated hardware.
Should I polish antique brass until it shines?
Not necessarily. A soft patina is often preferred, and heavy polishing can wear away detail. Clean gently and stop when the dirt is gone.
How do I stop brass tarnishing again?
Dry it well after cleaning, keep it away from damp and handle it minimally. A thin coat of microcrystalline wax can slow tarnishing.
How can I tell if brass handles are original?
Look for matching outlines and screw holes, wear consistent with the drawer, and fittings that fit the holes exactly. Extra holes or mismatched sets suggest replacements.
Advertisement
General information only. Check product labels and manufacturer instructions before you start.
Keep reading
How to Identify an Old Wood Finish: Shellac, Lacquer, Varnish or Wax
Use simple spot tests to work out whether an old furniture finish is shellac, lacquer, varnish or wax, so you can clean and repair it the right way.
How to Store Antique Furniture Safely: Wrapping, Space and Conditions
Store antique furniture without damage: choose a dry, stable space, wrap with breathable materials, keep it off the floor and check on it regularly.
How to Repair Lifting or Bubbled Veneer on Old Furniture
Fix lifting corners and blisters in old veneer with careful cleaning, glue and clamping, and learn when veneer damage needs a restorer.