How to Care for Antique Furniture at Home: Light, Humidity and Dusting
Simple everyday care keeps antique furniture stable: control humidity, avoid radiators and sunlight, dust correctly, and use polish sparingly.
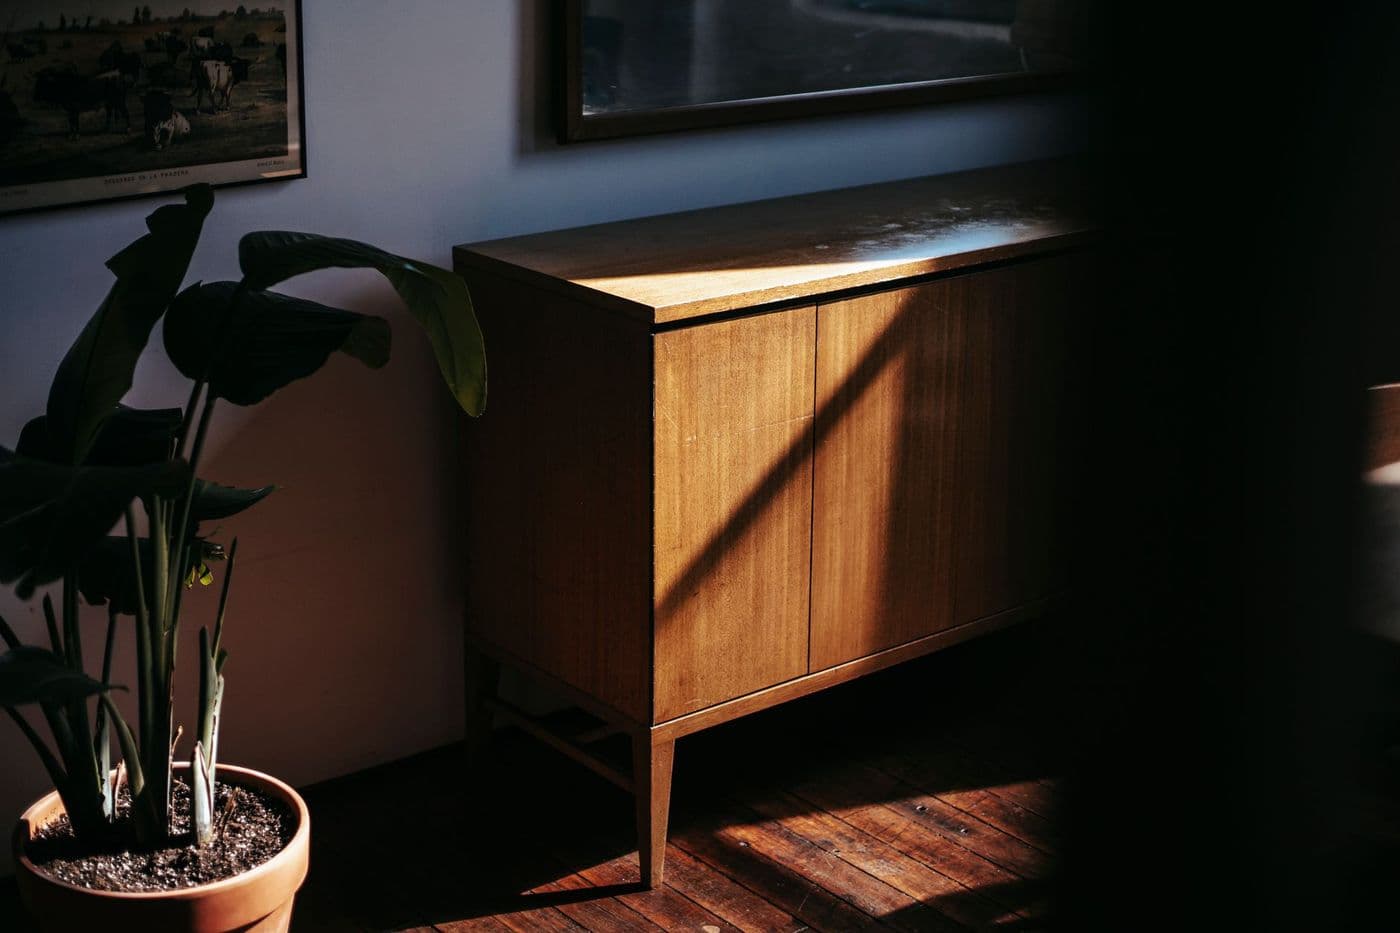
Keep antique furniture away from radiators, fireplaces and direct sunlight, and aim for steady indoor humidity, commonly suggested at around 40 to 60 per cent relative humidity. Dust with a soft dry cloth, wipe spills immediately, lift rather than drag pieces, and use wax sparingly a few times a year rather than spray polish.
Most damage to antique furniture is not dramatic. It builds slowly through heat, dryness, sunlight and well-meant over-cleaning. Wood is a natural material that swells and shrinks with moisture, and old glue and finishes are sensitive to change.
The good news is that a handful of habits will protect a piece for decades. None of them requires special equipment.
Why stable conditions matter
Wood absorbs and releases moisture as the air around it changes. When humidity swings sharply, as it does when central heating is switched on in winter, panels can shrink and crack, joints can loosen and veneers can lift. Gradual seasonal change is far less harmful than sudden shifts.
Many museums and conservators aim for steady conditions rather than perfect ones. At home, the goal is simply to avoid extremes.
Control heat and humidity
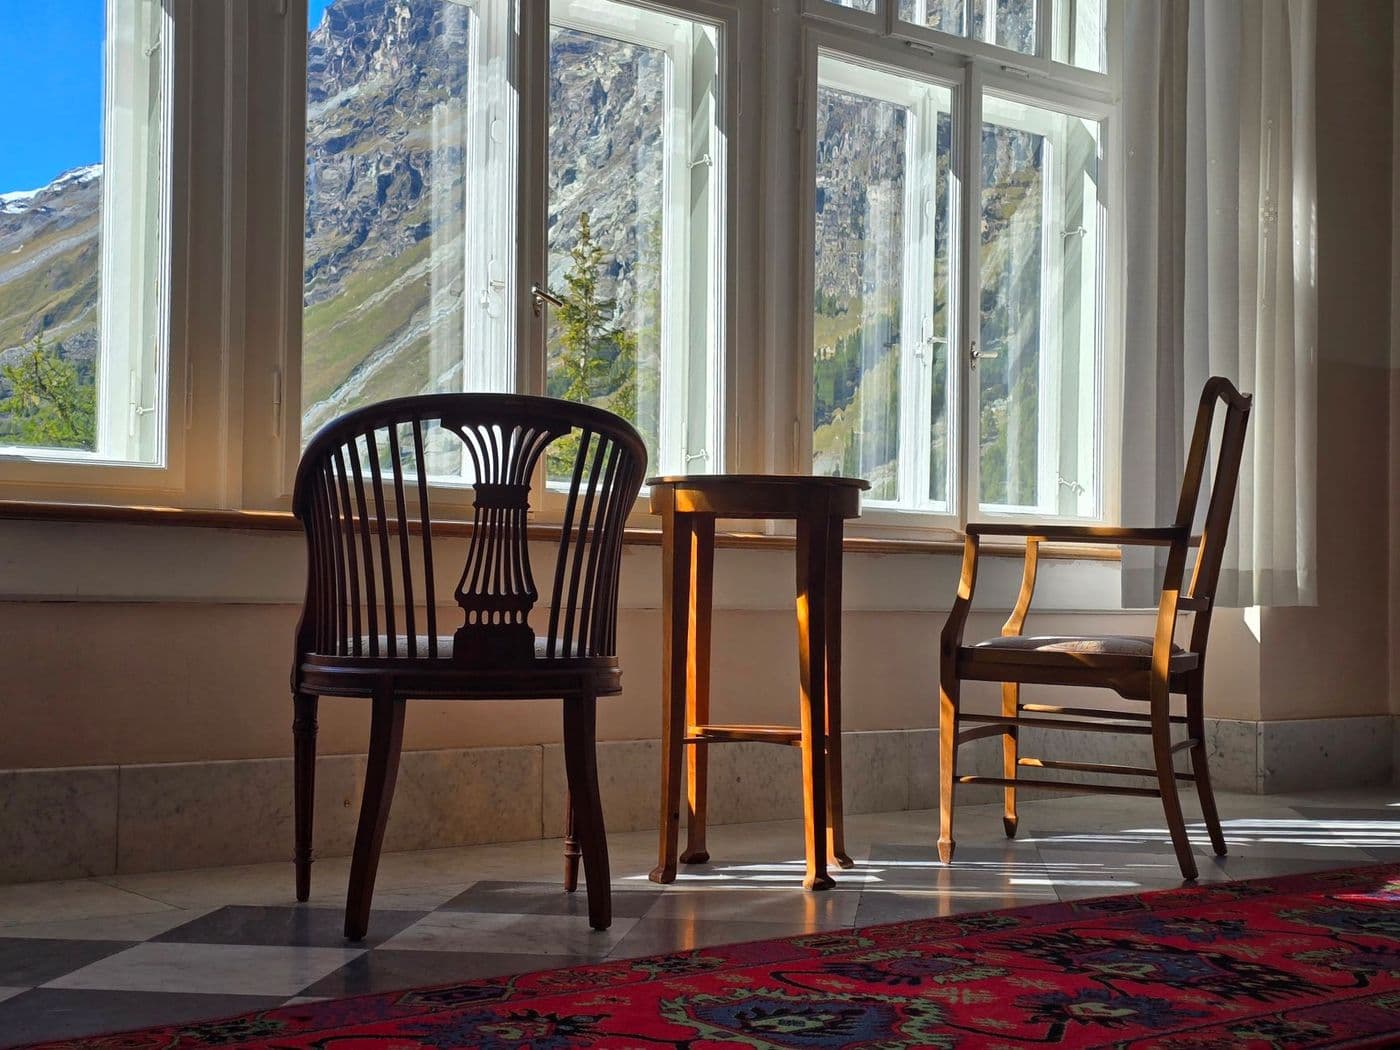
Keep furniture away from radiators, hot air vents, stoves and fireplaces. Do not place a piece directly against an external wall that is cold or damp. Leave a small gap behind large cabinets so air can circulate.
A cheap hygrometer will show your room's relative humidity. If the air is very dry in winter, a humidifier or a few bowls of water near (not on) the furniture can help. If it is damp, ventilate and consider a dehumidifier, since mould and woodworm thrive in damp conditions.
Manage light
Sunlight fades finishes, bleaches dark woods and dries out surfaces. Furniture in front of a bright window often shows a clear pale patch or a ring where objects stood. Use curtains, blinds or UV-filtering film, and rotate objects on top of the furniture occasionally so fading is even.
Ultraviolet light is the main culprit, so even a bright north-facing room can slowly affect delicate finishes and fabrics.
Dust and clean gently
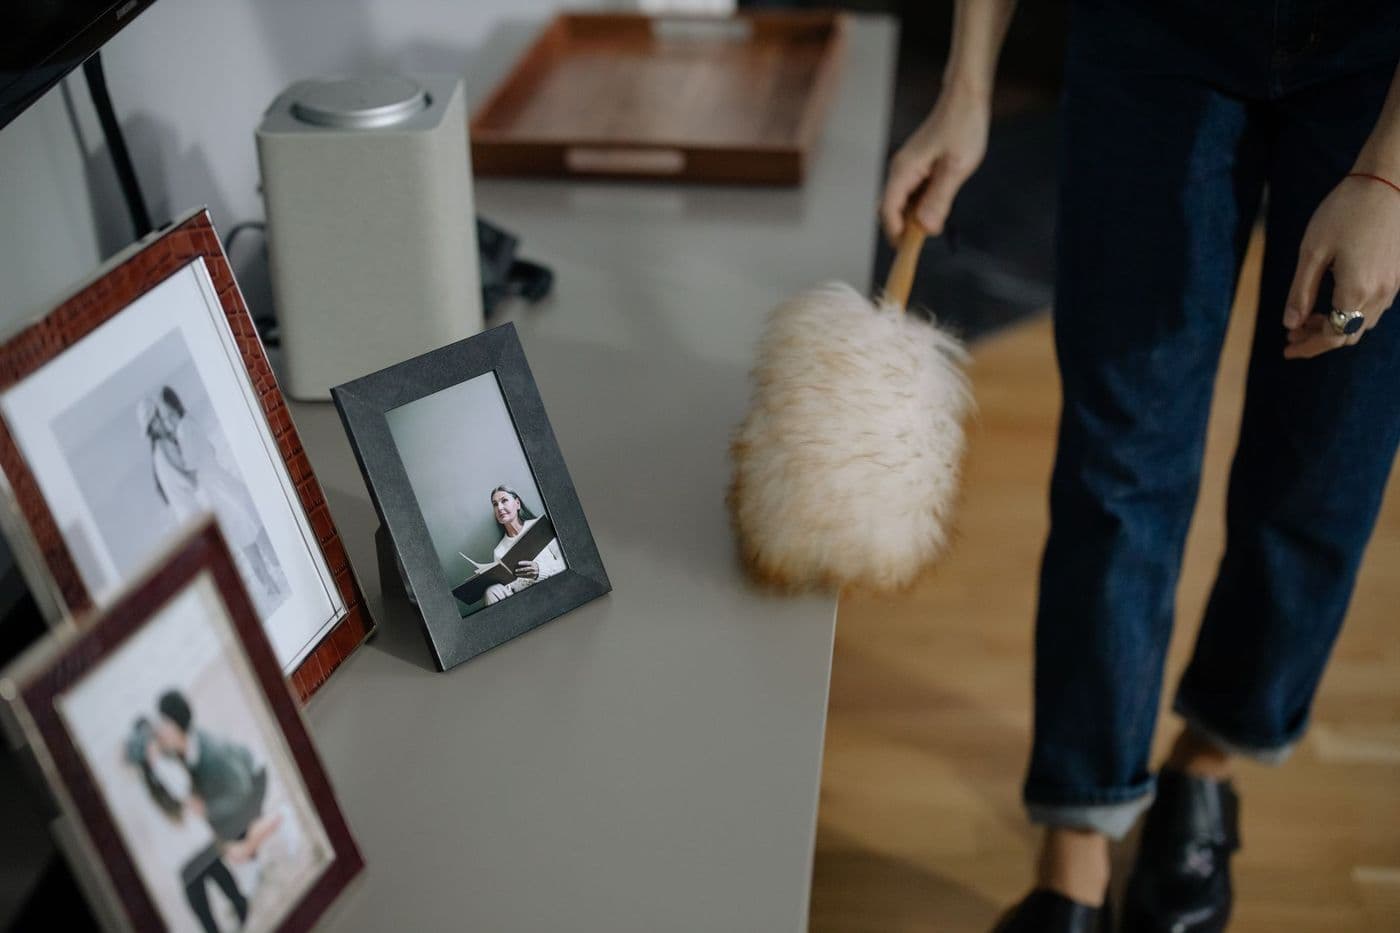
Dust with a soft, clean, dry cloth or a soft brush, working with the grain. Avoid feather dusters that can snag carved details or loose veneer, and avoid spray polishes containing silicone, which can build up and make future restoration harder.
For occasional grime, use a barely damp cloth and dry the surface straight away. Never soak wood. For stubborn marks, test any product on a hidden area first or ask a conservator.
Wax sparingly
A thin coat of good-quality paste wax two or three times a year can protect a finish and give a soft sheen. Apply a very small amount, let it dry and buff it with a soft cloth. Too much wax builds up, attracts dust and leaves a sticky layer.
If the surface feels waxy or smeary, it probably has too much already. In that case, avoid adding more and ask a restorer about careful removal.
Protect surfaces from daily damage
Use coasters, trivets and table mats; hot mugs and damp glasses leave rings. Felt pads under lamps and ornaments prevent scratches. Avoid placing plants directly on antique wood, since moisture from saucers causes water marks.
When moving a piece, lift it rather than drag it, and carry chairs by the seat frame rather than the back or arms. Empty drawers and remove doors or loose shelves if possible before moving large cabinets.
Seasonal habits worth building
Care works best as a short routine rather than an occasional big effort. In autumn, before the heating comes on, check that furniture is not too close to radiators and move anything that is. In spring, look over each piece for new gaps, lifting edges or small insect holes while the light is good.
Keep a simple note of when you waxed each piece and what you used. It prevents over-treatment, and if you later hand the furniture to a restorer, that history is genuinely useful. Photograph pieces once a year from the same angle; slow changes in colour and cracks are easy to miss in daily life but obvious in side-by-side pictures.
Know when to stop and call a professional
Cracked joints, lifting veneer, active woodworm and mould are all jobs for a qualified restorer. Early treatment is usually simpler and cheaper than repairing major damage later.
Avoid stripping, sanding or repainting valuable pieces. Original surfaces are often a large part of an antique's appeal and value, and they cannot be put back once removed.
Tip: Place a small humidity gauge near your most valuable piece and glance at it each season. Noticing a change early costs nothing and can prevent cracks.
Frequently asked questions
What humidity is best for antique furniture?
A commonly suggested range is roughly 40 to 60 per cent relative humidity, kept as stable as possible. Avoid sudden changes more than worrying about exact numbers.
Is spray polish safe on antiques?
Generally not recommended. Some contain silicone or solvents that build up or interfere with future repairs. A soft dry cloth and occasional paste wax are safer choices.
Can I put antique furniture in a conservatory or garage?
It is best avoided. Large temperature and humidity swings and strong sunlight can cause cracking, warping and finish damage.
How often should I wax antique furniture?
Usually a couple of times a year is plenty, applied thinly. Over-waxing causes buildup rather than protection.
Advertisement
General information only. Check product labels and manufacturer instructions before you start.
Keep reading
How to Identify an Old Wood Finish: Shellac, Lacquer, Varnish or Wax
Use simple spot tests to work out whether an old furniture finish is shellac, lacquer, varnish or wax, so you can clean and repair it the right way.

How to Store Antique Furniture Safely: Wrapping, Space and Conditions
Store antique furniture without damage: choose a dry, stable space, wrap with breathable materials, keep it off the floor and check on it regularly.
How to Repair Lifting or Bubbled Veneer on Old Furniture
Fix lifting corners and blisters in old veneer with careful cleaning, glue and clamping, and learn when veneer damage needs a restorer.